A patio in your garden or backyard is an important place in a house for morning coffee and sun-soaking, evening hi-teas, night diners with your loved ones, or for simple relaxation. Although you can always hire professionals, you can also build a new patio for your house by yourself with the help of your friends, family, or neighbours. Let us explain how you can construct a beautiful patio for your property.
How to Build a New Patio?
Tools You Require
- Tamper or plate compactor
- Wheelbarrow
- Garden hose
- Broom
- Spade
Materials You Need
- PVC pipe
- 2x4 board
- Weed barrier
- Builders sand
- Polymeric jointing sand
- Plastic edging (optional)
- Flagstones, bricks, or pavers
- Gravel or limestone paver base
Step-by-Step Procedure
1) Outline the Patio
The first step to building a patio is to mark out and clear the area where you want to build it. You can mark out the shape and size of the patio using a string and builder square. For more accuracy without cutting slabs, you can also ‘dry lay’ your patio slabs which means, laying the slabs and your wooden bars anywhere in your garden to get an idea of what shape and size will work.
2) Set and Level the Line
To set and finalise the right pitch and height of your square patio, you need to create a big ‘+’ sign with a cross at its centre. You need to start by running an extended nylon masonry line between two metal points that are 12 feet apart. Create another extended 12-foot-long line across the he first line’s central point, ensuring it is at the level where you want the finished pavers to be.
Then you need to connect your line level to the line running out from the house with around a 1-inch drop every 4 feet. You can use a 4-foot level with a one-inch wood bar at the end to check the slope as you dig. However, it is better to use the natural slope of your yard.
3) Clear Space
After marking out the patio, you need to clear the space to make it ready for your sub-base. If there is already a patio to be removed, you are required to remove the slabs and perhaps use a demolition hammer for eliminating the existing concrete.
Ensure that there are no pipes below the zone before digging which you can identify by hiring a cable avoidance tool. You need to dig deep enough to make room for a 100mm sub base, 50mm of grout and the specific thickness of your flooring slabs. You should ensure that the top surface of the paving slabs is 150mm below the water-proof course line if you're constructing a patio next to your property.
4) Lay the Sub-base
After digging to the required depth, you need to outline the height of your sub-base using wood sticks. Start from the maximum point of the patio and hit your stick into the ground, creating a gap from its top to the ground with the 100mm precise sub-base height. To keep the depth accurate, you can add further sticks across the sub-base.
To allow water to drain, you need to create a fall in the patio as well with 25mm depth at every 1.5m so you need to consider these dimensions when thrashing in your sticks. Fill the sub-base with the help of a wheelbarrow after marking the heights and compact it using a plate compactor until it is levelled with your pegs. Wear ear-defenders, safety goggles, and safety boots to ensure maximum security for yourself while removing those tasks.
5) Mix up Mortar
Prepare your mortar by measuring four parts of sharp sand with one part of cement in a bucket and then blending it properly by hand or using a cement mixer. Remember to make a specific amount of mixture that you need at the time as the mortar needs to be used within two hours of being produced. Wear a dust mask, gloves, and safety glasses while making the mortar.
Add 1/4
6) Lay the First Slab
Lay almost 60mm of mortar but before that you need to make the slab’s back wet with water and a brush. Carefully lay your first slab at the patio’s highest point, keeping in mind that the first slab will help in determining the correct alignment of other slabs.
Seek help to properly pave heavy slabs and gently tap them with a club hammer to fix them in place. Do avoid hitting directly, place a piece of timber on top of the slab and fill in any gaps underneath to level the mortar with the slab. Check slab-leveling using a spirit level.
7) Lay Outstanding Slabs
Start laying the first row of slabs in the descending angle using wooden spacers to leave a 5-10mm gap between them. Continue to check the slab levels with spirit level as you go about the process as you need to create a flat surface that gradually drops downwards. Leave the mortar to dry for 48 hours after finishing laying and cover the patio with a tarpaulin if there is a prediction of bad weather.
8) Fill B/W Slabs
The last step is to fill in the gaps between your paving slabs with a mixture of cement and dried sand. Add one part of both the materials and mix them up in a clean bucket. Now mildly pepper this mixture along the seams and brush it in with a soft brush, while compacting the seams using a pointing trowel. Keep adding more mixture until the seams are filled.
Finishing Touches for Paving a Patio
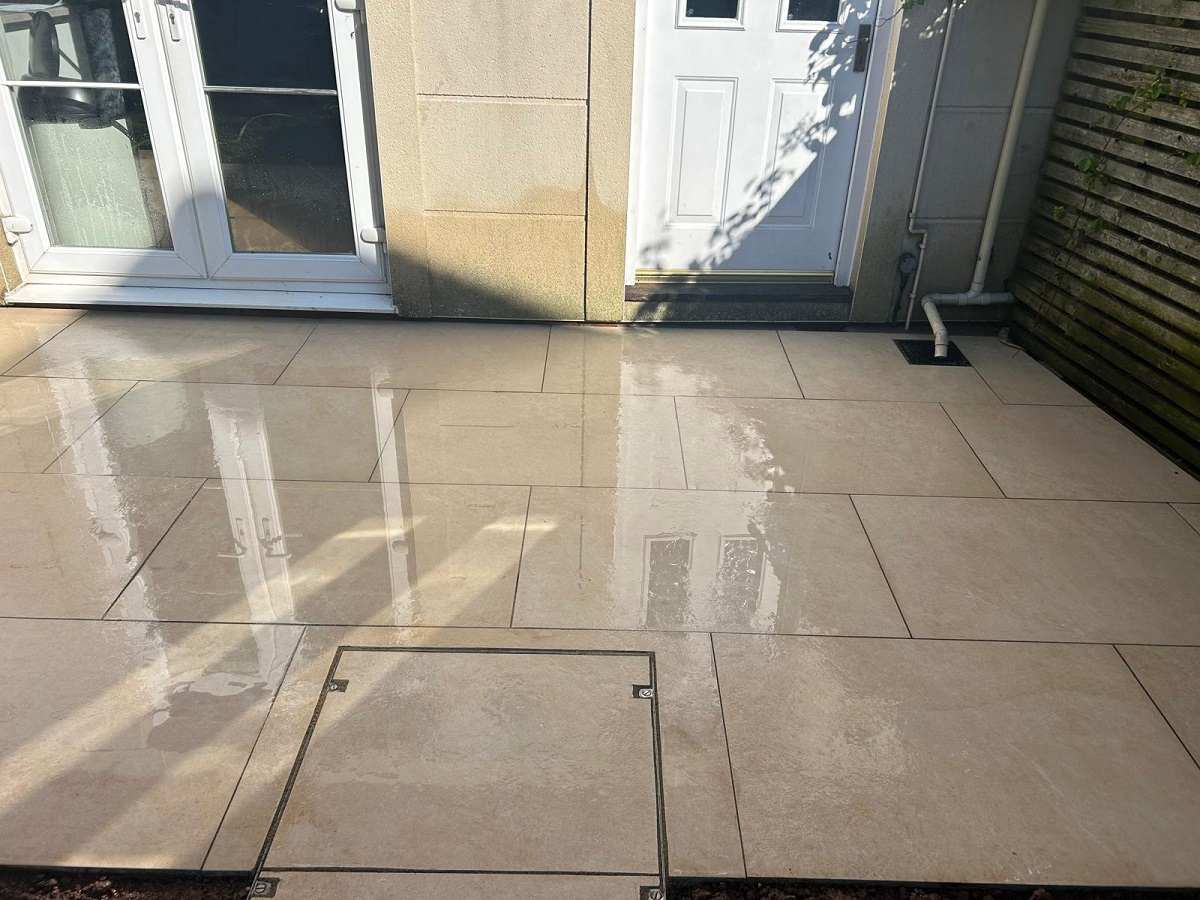
Congratulation! Your patio is now finished and ready to serve you and your loved ones. However, there is a lot you can do to decorate the patio to make it lively and beautiful:
- Separate your patio from the lawn by putting down mulch.
- Add garden beds and container plants to add colour and an organic look to your patio.
- Place garden décor items such as fountains, wind chimes, and bird feeders to revamp your space.
- Place a grill and outdoor furniture to create alfresco relaxation and dining spaces.
- Install outdoor lighting to level up your patio’s outlook at night and make it as useful as daytime.
- Add outdoor heating to make the place cosy in winter.
Final Words
There you go! Your self-made patio is now ready to rock with its all-new look and beautiful aesthetics. If you want professionals to construct new patios for your property then consider A and M Groundworks by calling 01392 984088.