To lay a resin driveway, prepare a solid base such as concrete or tarmac, install edging, clean and prime the surface, mix resin with aggregates in correct ratios, spread evenly, trowel for a smooth finish, and allow 24–48 hours for curing before use.
Resin driveways have become increasingly popular across the UK due to their durability, modern appearance, and low maintenance requirements. Whether you are upgrading your current driveway or starting from scratch, understanding how to lay resin driveways correctly is essential for a long-lasting and professional finish.
This comprehensive guide will walk you through the entire process, from preparation to finishing touches, while also covering expert tips to ensure your driveway stands the test of time.
What Is a Resin Driveway?
A resin driveway is created by mixing natural aggregates (such as gravel or stone) with a clear resin binder. This mixture is then spread onto a prepared surface to form a smooth, permeable, and visually appealing finish.
There are two main types:
- Resin-bound (most popular, smooth and permeable)
- Resin-bonded (rougher, less permeable)
For this guide, we will focus on resin-bound driveways, as they are widely used in residential properties.
Benefits of Resin Driveways
Before diving into the installation process, it is important to understand why resin driveways are a preferred choice:
Resin driveways are highly durable and resistant to cracking. They allow water to drain through, reducing puddles and flooding. They are also weed-resistant and require minimal maintenance. Additionally, they offer a wide range of colours and finishes to suit different property styles.
Tools and Materials Required
To lay a resin driveway successfully, you will need:
- Resin (UV-stable recommended)
- Decorative aggregates
- Forced action mixer
- Wheelbarrow
- Trowels
- Screed bars
- Edging restraints
- Primer (if needed)
- PPE (gloves, goggles)
Using the correct tools ensures consistency and a professional finish.
Step-by-Step Process to Lay Resin Driveways
Preparing the Base
The foundation is the most critical part of the process.
A resin driveway requires a stable and permeable base. Suitable bases include:
- Existing concrete
- Tarmac (asphalt)
- Permeable sub-base (such as MOT Type 3)
Ensure the surface is clean, dry, and free from oil, dust, or loose debris. Any cracks or damage should be repaired beforehand.
Key Tip:
A strong and well-prepared base prevents future cracking and ensures longevity.Installing Edging
Edging acts as a boundary to contain the resin mixture.
Materials such as aluminium, brick, or stone edging are commonly used. These should be firmly secured in place to prevent movement during installation.
Key Tip:
Proper edging ensures a neat finish and prevents the resin from spreading beyond the desired area.Cleaning and Priming the Surface
Before applying the resin, thoroughly clean the base using a pressure washer or stiff brush.
If the base is non-porous, apply a primer to improve adhesion. Allow the primer to dry fully before proceeding.
Mixing the Resin and Aggregate
The resin and aggregates must be mixed in precise ratios.
Use a forced action mixer to combine the materials evenly. Typically, the resin is mixed first, followed by gradual addition of aggregates.
Key Tip:
Accurate mixing ratios are essential to achieve strength, durability, and an even finish.Laying the Resin Mixture
Once mixed, the resin-bound material should be laid immediately.
Spread the mixture evenly across the surface using a trowel. Work quickly, as the resin begins to cure within a short time.
Maintain a consistent thickness, usually around 15–20mm for driveways.
Trowelling and Levelling
Trowelling is crucial to achieving a smooth and professional finish.
Use a steel float to compact and level the surface. Apply firm pressure to eliminate air pockets and ensure the mixture binds properly.
Key Tip:
Consistent trowelling creates a smooth, slip-resistant surface and enhances visual appeal.
Curing Time
After installation, allow the driveway to cure.
Typically:
- Light foot traffic: 6–8 hours
- Vehicle use: 24–48 hours
Avoid walking or driving on the surface before it has fully cured.
Common Mistakes to Avoid
When learning how to lay resin driveways, avoiding common errors can save time and money.
One of the biggest mistakes is poor base preparation, which leads to cracking. Another issue is incorrect mixing ratios, resulting in weak bonding. Working too slowly can also cause uneven finishes, as the resin begins to set quickly.
Maintenance Tips for Resin Driveways
Resin driveways are low maintenance, but proper care ensures longevity.
Regular sweeping prevents dirt build-up. Occasional pressure washing keeps the surface clean. Avoid using harsh chemicals, as they can damage the resin. Promptly remove oil spills to prevent staining.
Cost Considerations
The cost of laying a resin driveway in the UK typically depends on:
- Size of the area
- Type of aggregate used
- Condition of the existing base
- Labour costs
While resin driveways may have a higher initial cost compared to traditional options, their durability and low maintenance make them cost-effective in the long run.
Why Choose Professionals?
Although DIY installation is possible, professional installation ensures quality results.
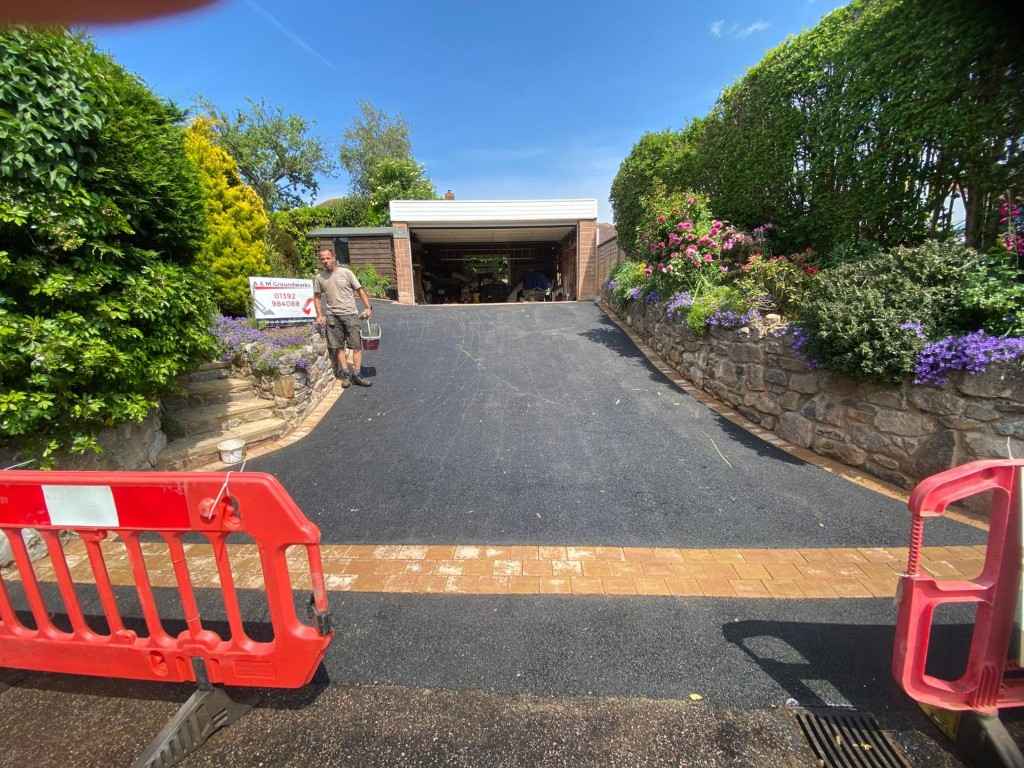
Experienced contractors, such as A and M Groundworks, understand the importance of correct preparation, mixing, and application techniques. This reduces the risk of costly mistakes and ensures a flawless finish.